This guide will walk you through setting up and using the Flattrade Python API step-by-step.
Ensure the following are installed:
- ✅ Python 3 (Add to system PATH)
- ✅ any Code editer (Recommended
Visual Studio code)
Get the full source code from GitHub:
URL: https://github.com/flattrade/pythonAPI
💡 You can clone using Git or download it as a ZIP.
Open your terminal and run:
# Clone the repository
git clone https://github.com/flattrade/pythonAPI.git

# Navigate to the project folder using VS Code
code pythonAPI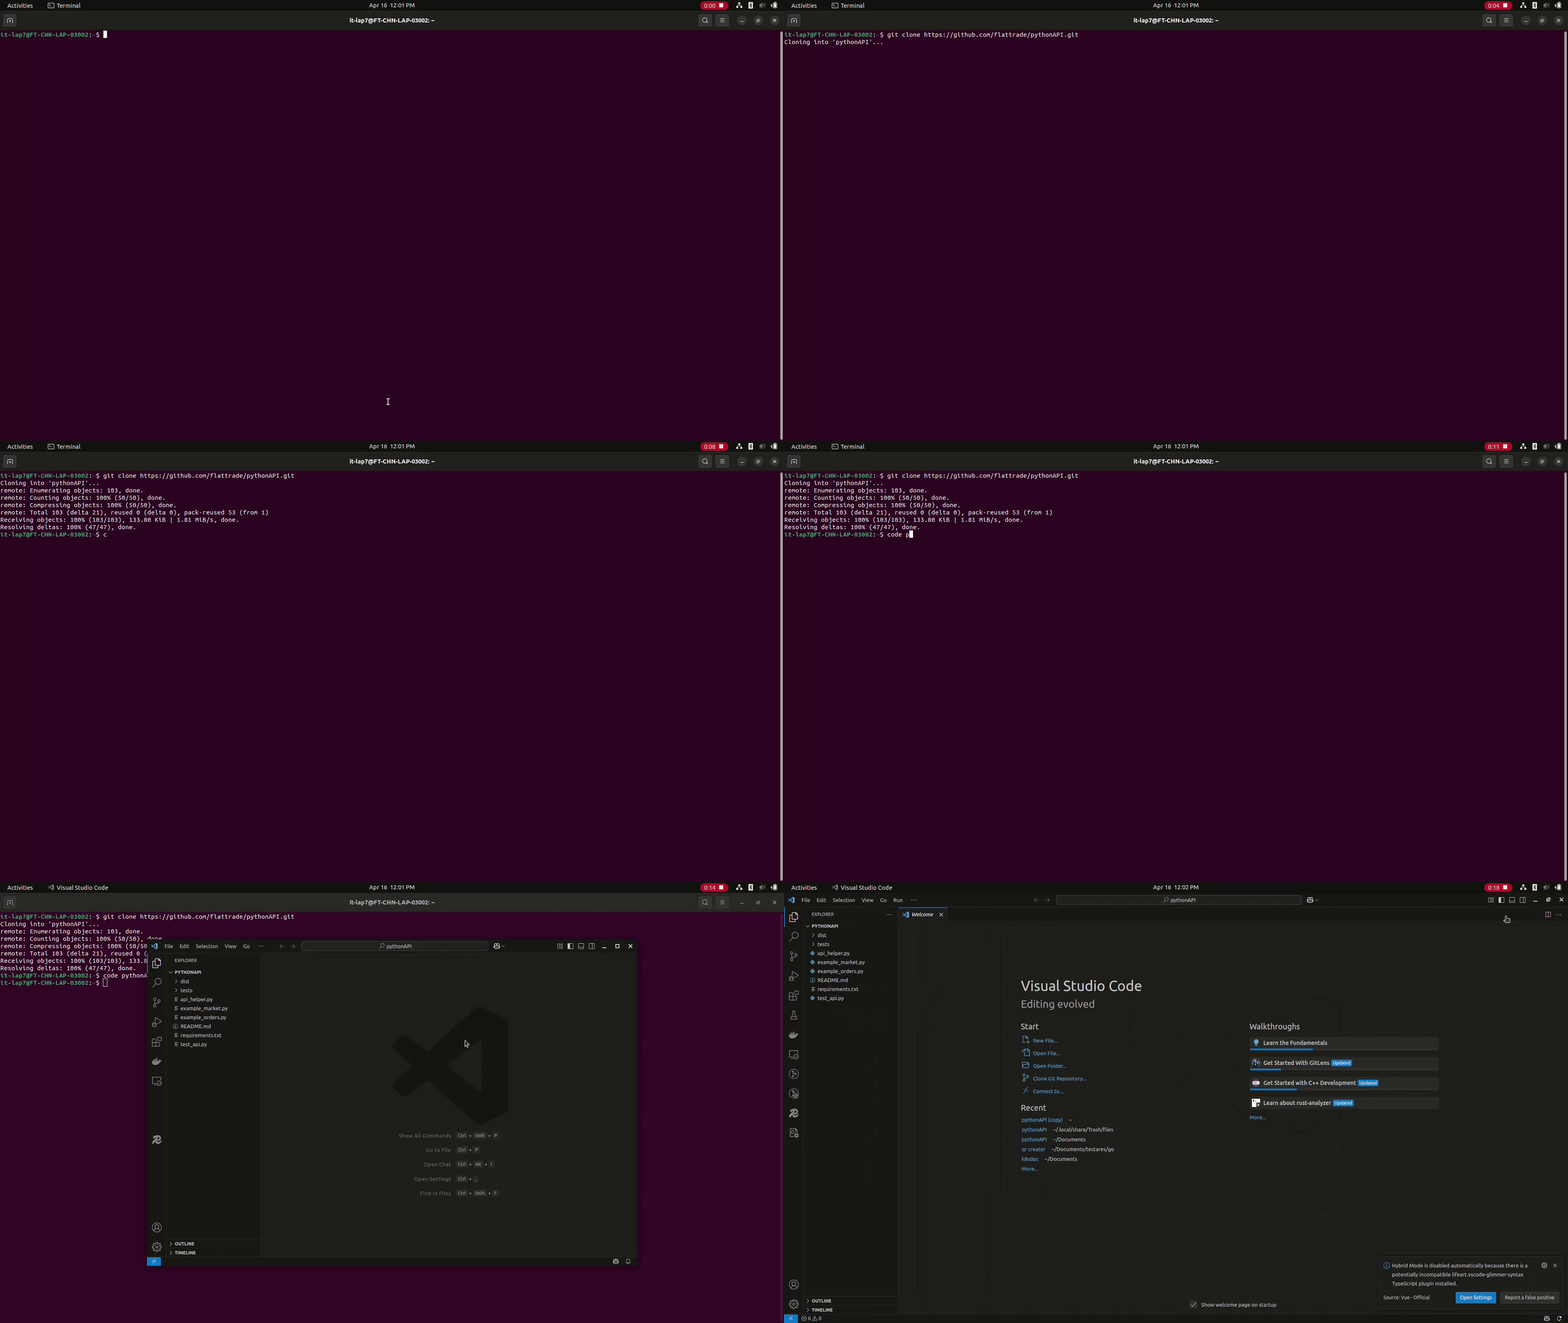
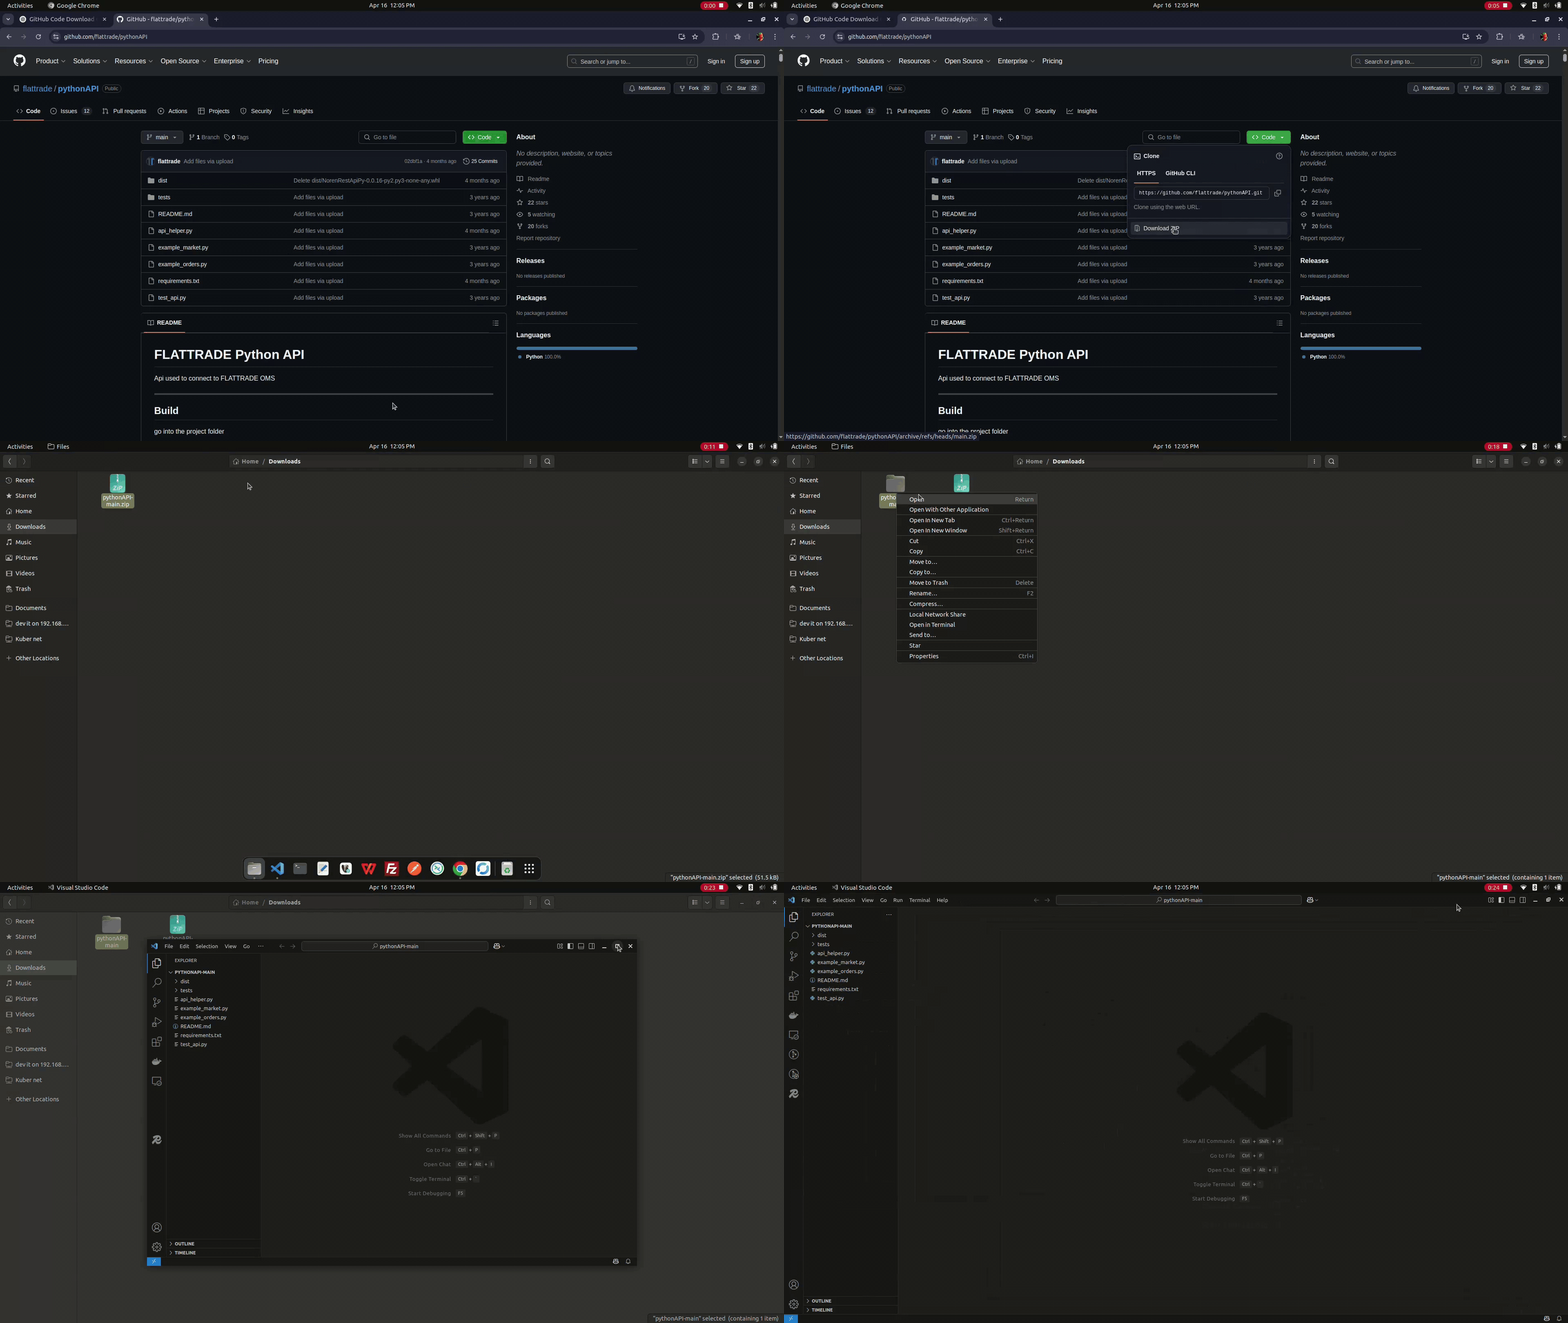
- Visit flattrade/pythonAPI
- Click the green “Code” button
- Choose “Download ZIP”
- Extract the contents to your desired location
- Open in
code editer
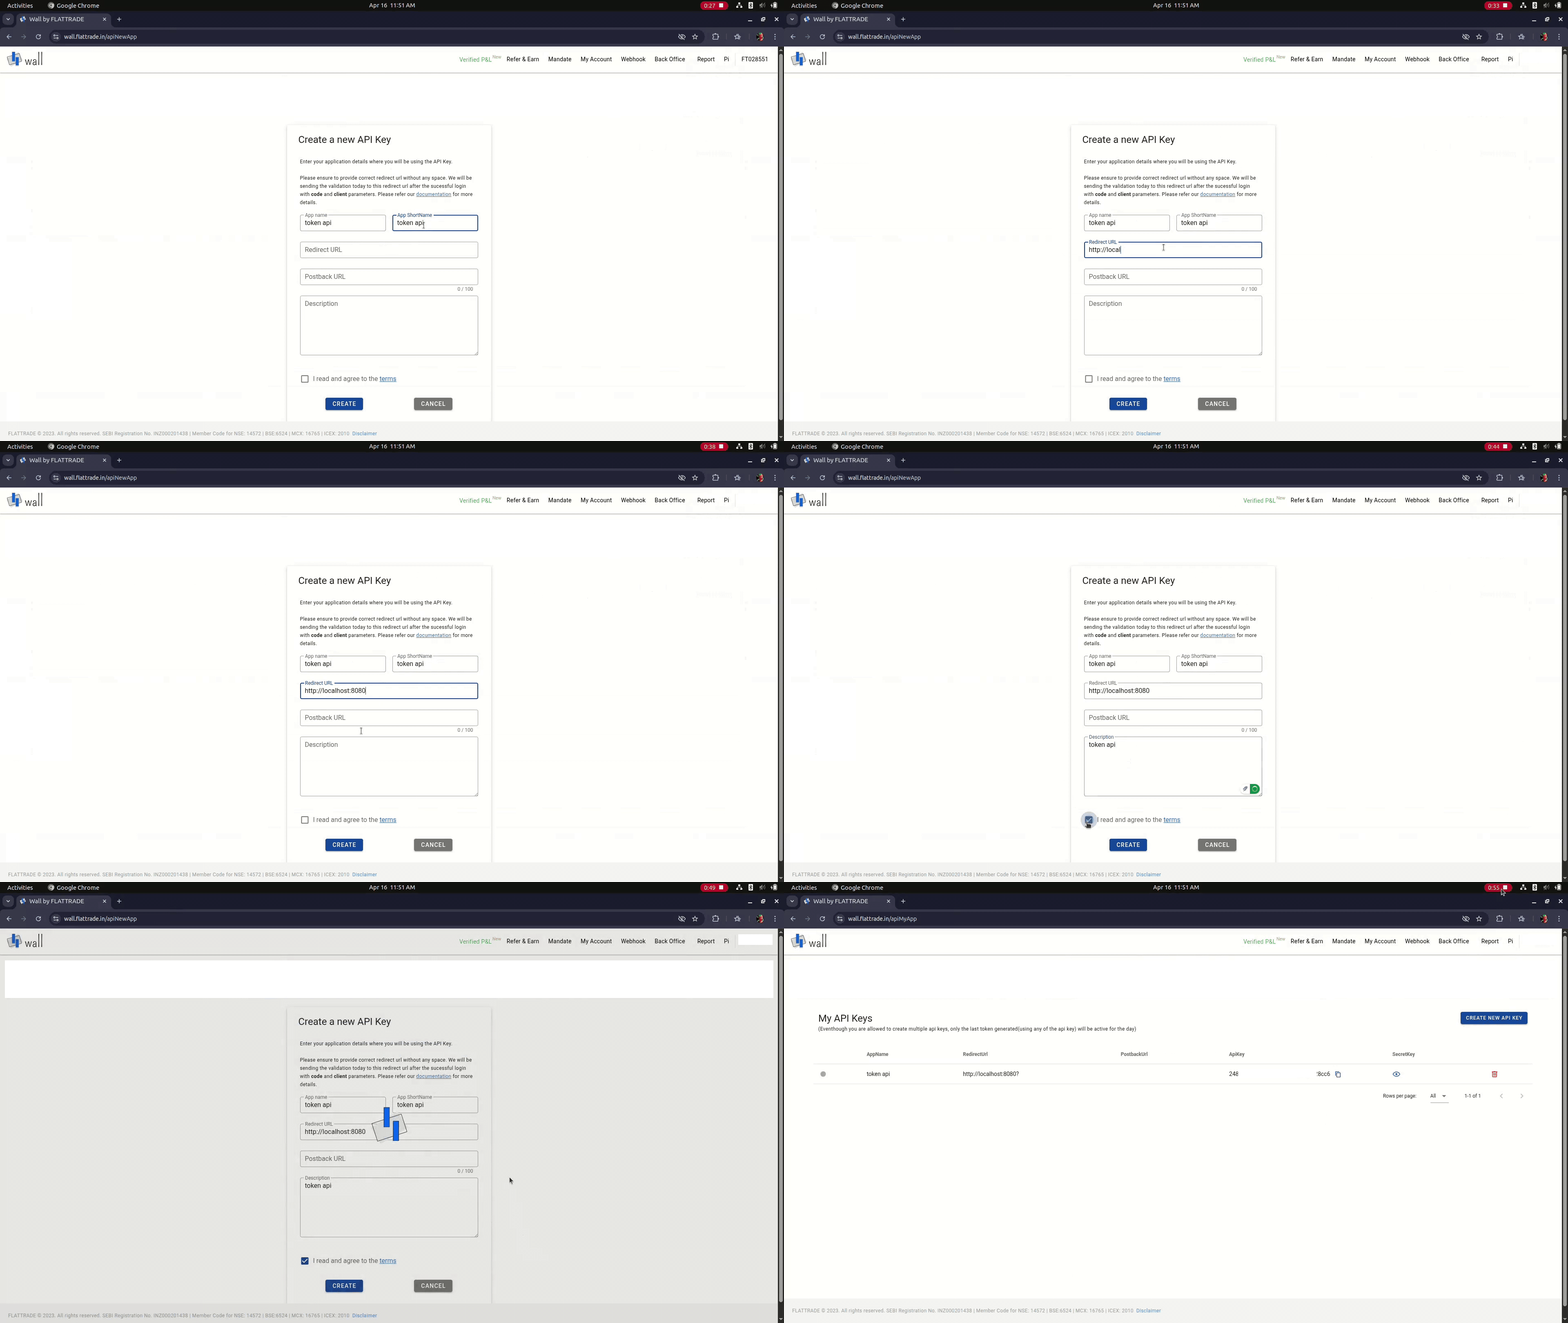
- Go to: https://wall.flattrade.in/login
- Click the Pi Menu
- Create a New API Key
When creating your API key, provide the following:
- App Name – Your app's full name
- App Short Name – A short identifier
- Redirect URL – Make use of
http://localhost:8080or your redirect webpage. - Description – A short explanation of your app
From the dashboard, save:
- ✅ Port (e.g.,
8080) - ✅ API Key
- ✅ Secret Key
Edit the following file with your credentials:
# token_generator/gettoken.py

# Configuration variables
EndPoint = "/"
GPort = 8080
api_key = "YOUR_API_KEY"
api_secret = "YOUR_SECRET_KEY"
python -m venv myvenvLinux/macOS:
source myvenv/bin/activateWindows CMD:
myvenv\Scripts\activateWindows PowerShell:
myvenv\Scripts\Activate.ps1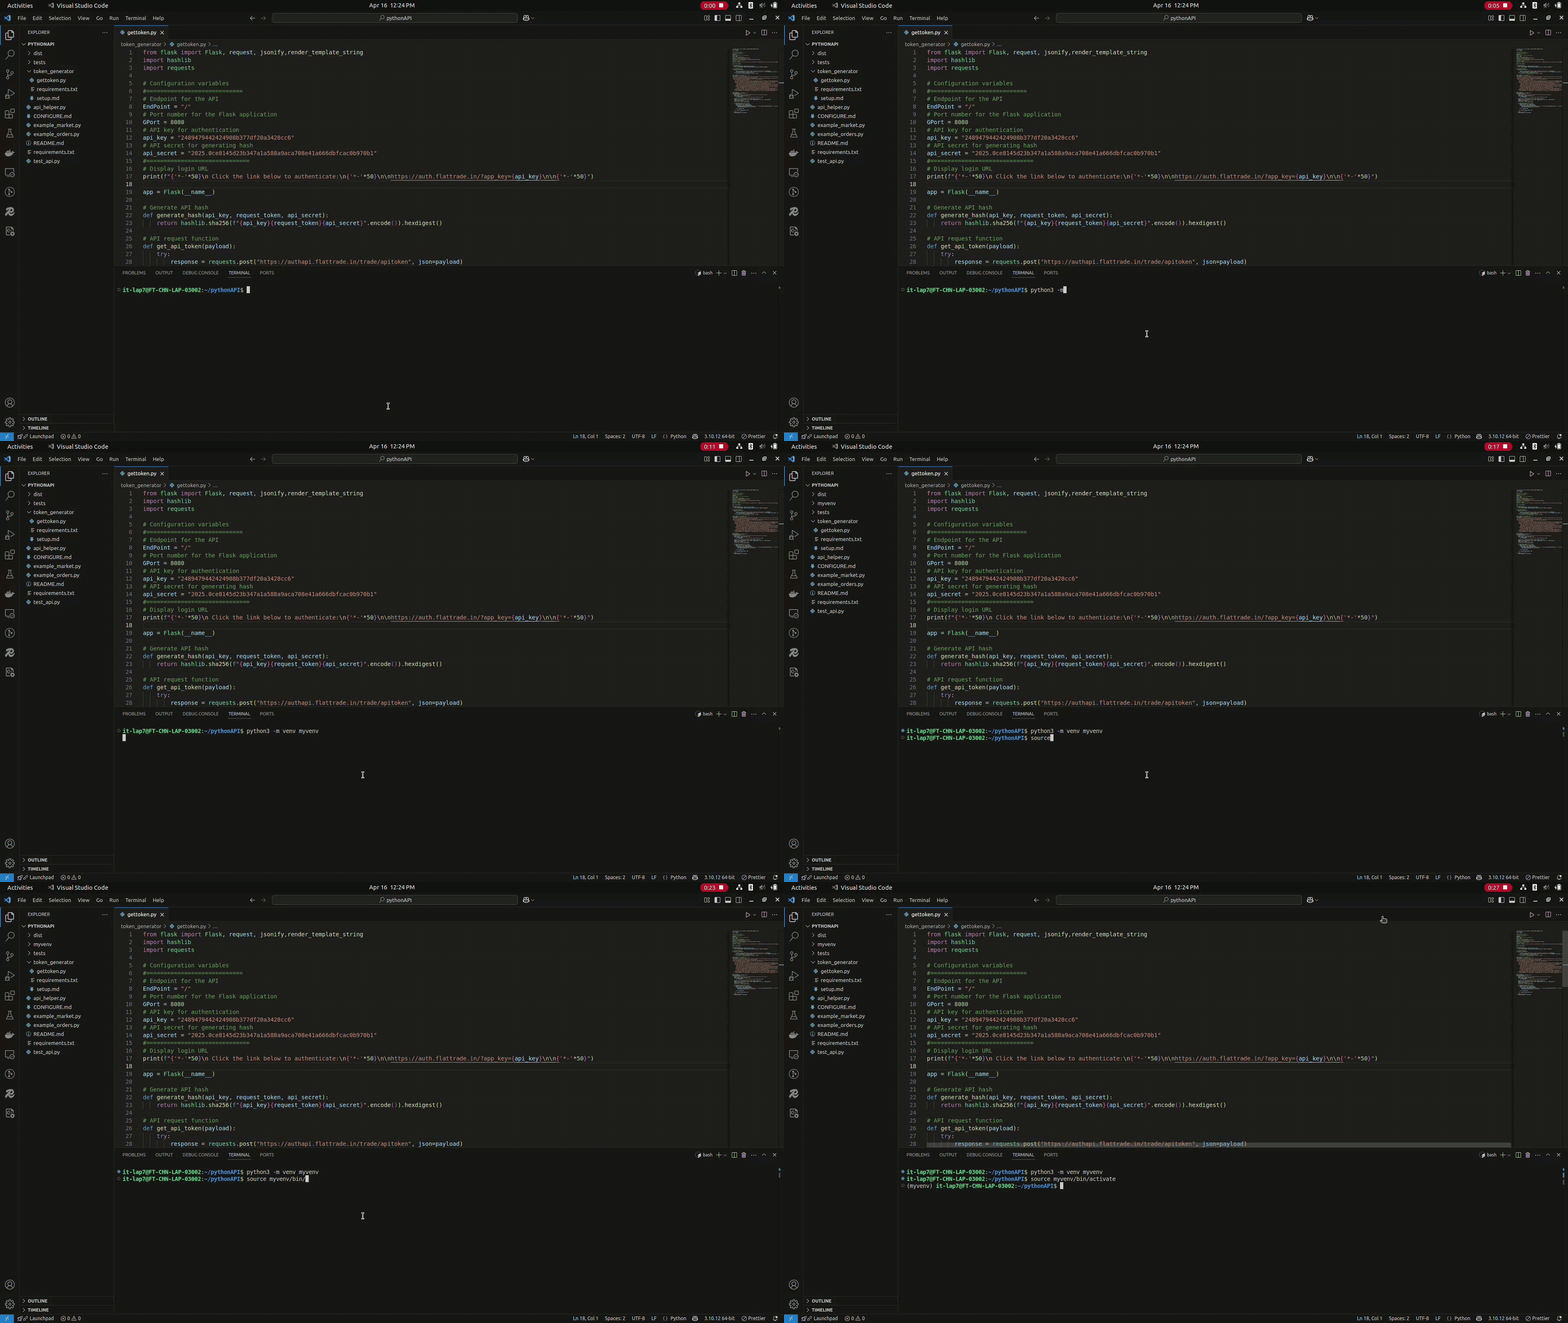
set the environment one time do this one time only this command creates a virtual environment for project dependencies
pip install -r requirements.txt
pip install -r ./token_generator/requirements.txt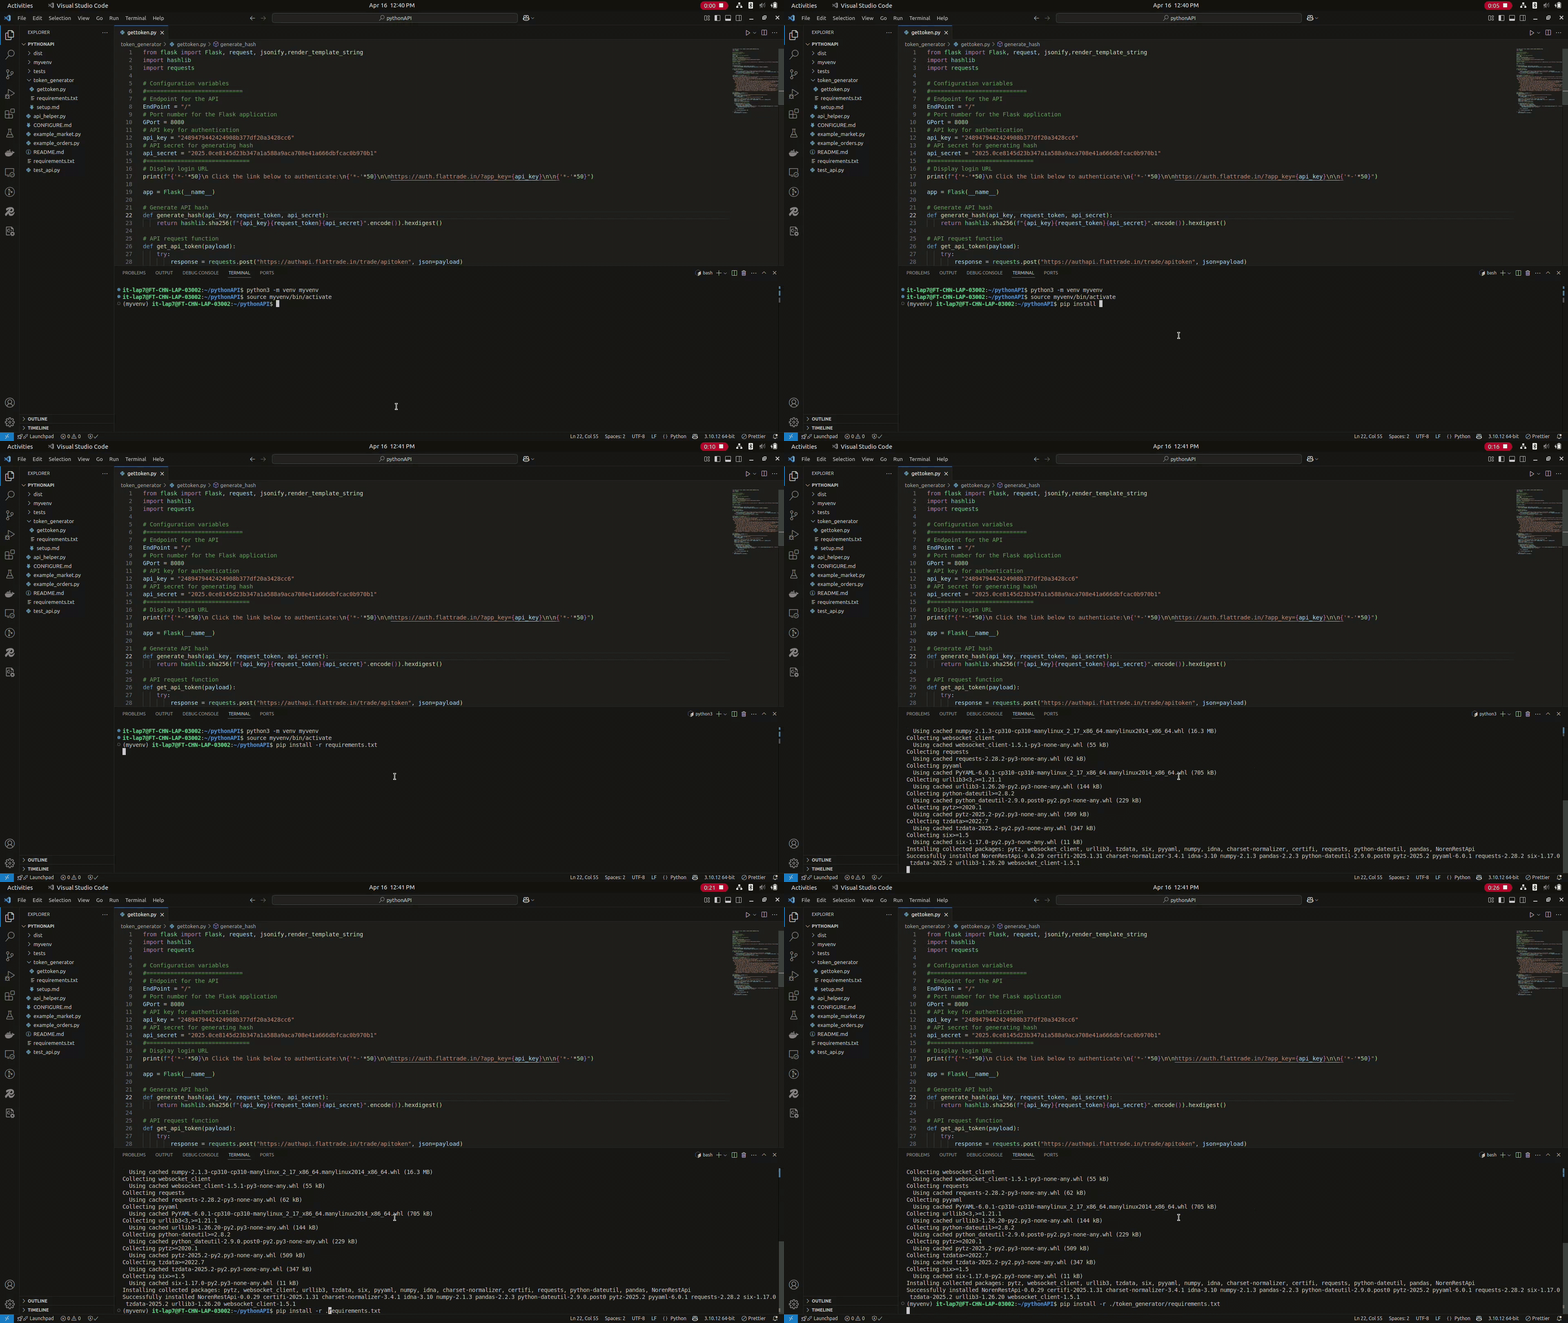
python ./token_generator/gettoken.pyAfter running the gettoken.py, you’ll get a link like:
https://auth.flattrade.in/?app_key=YOUR_APP_KEY
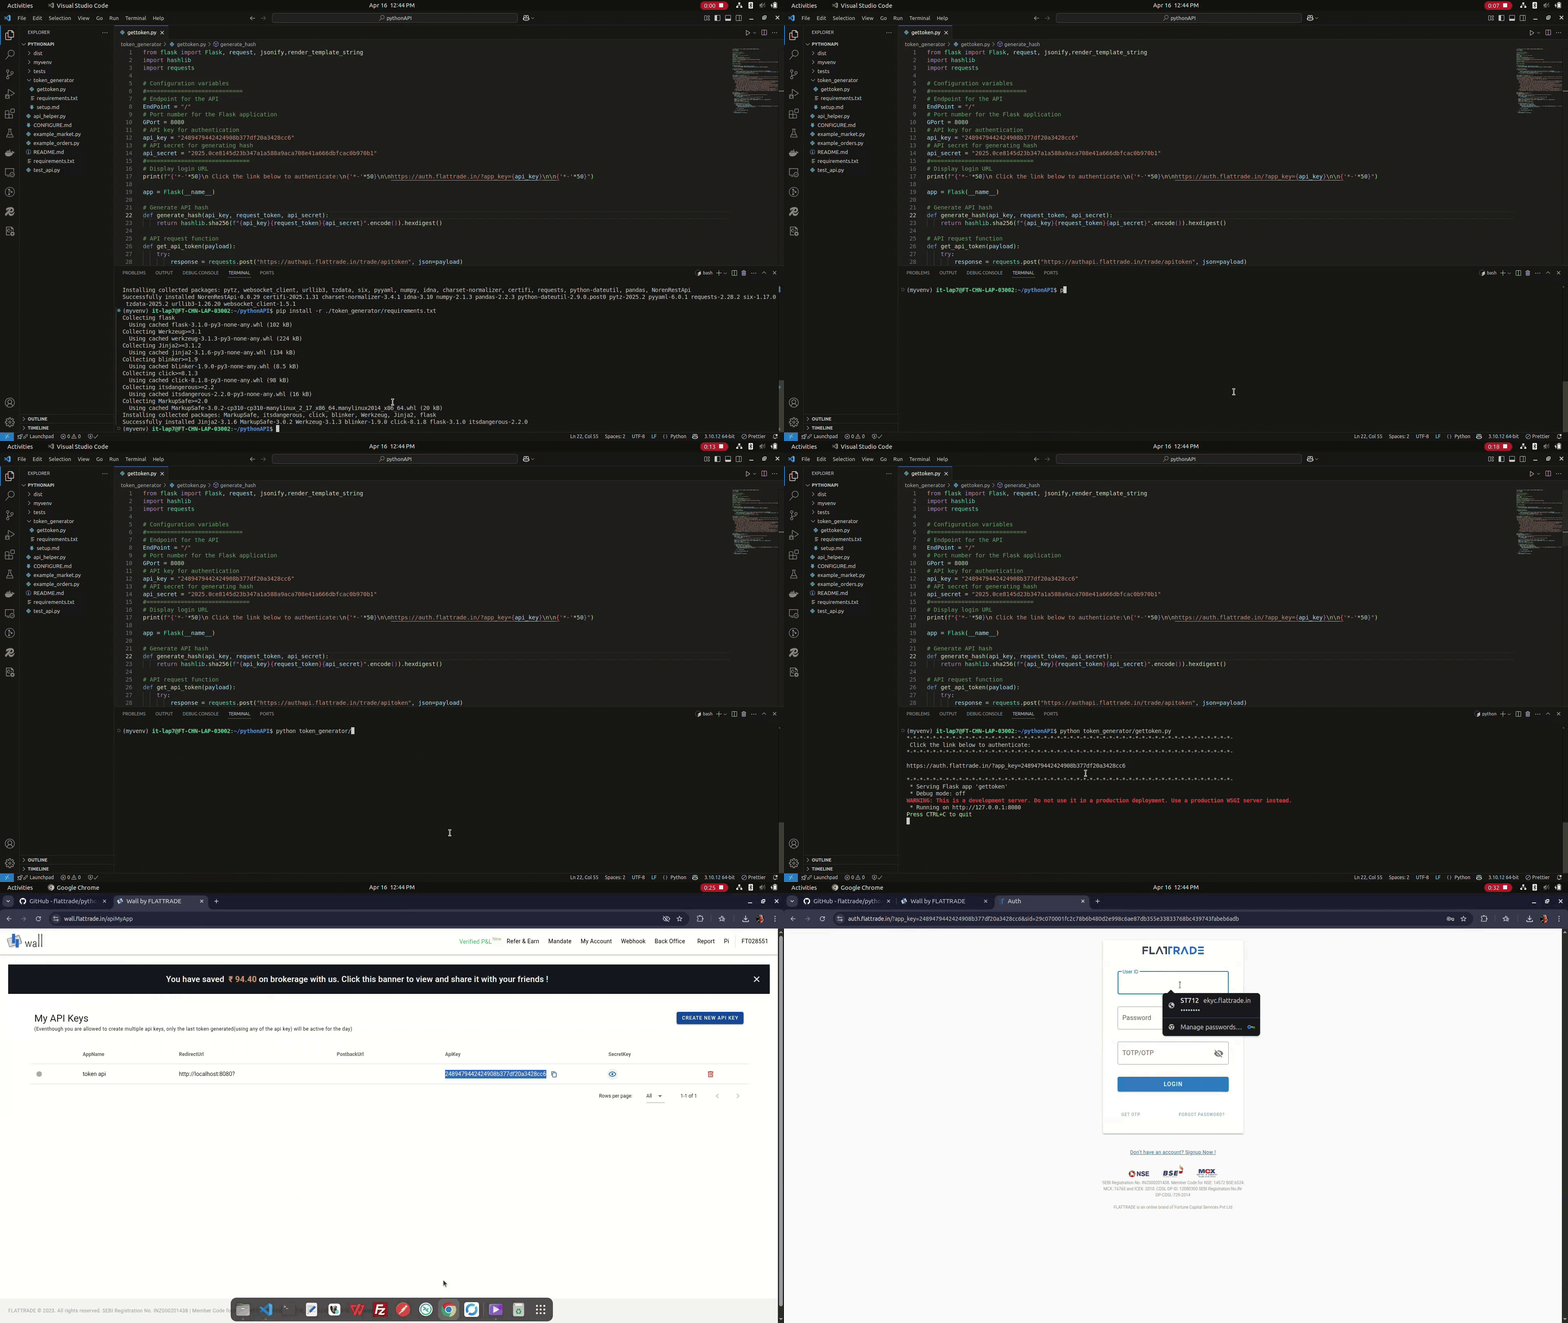
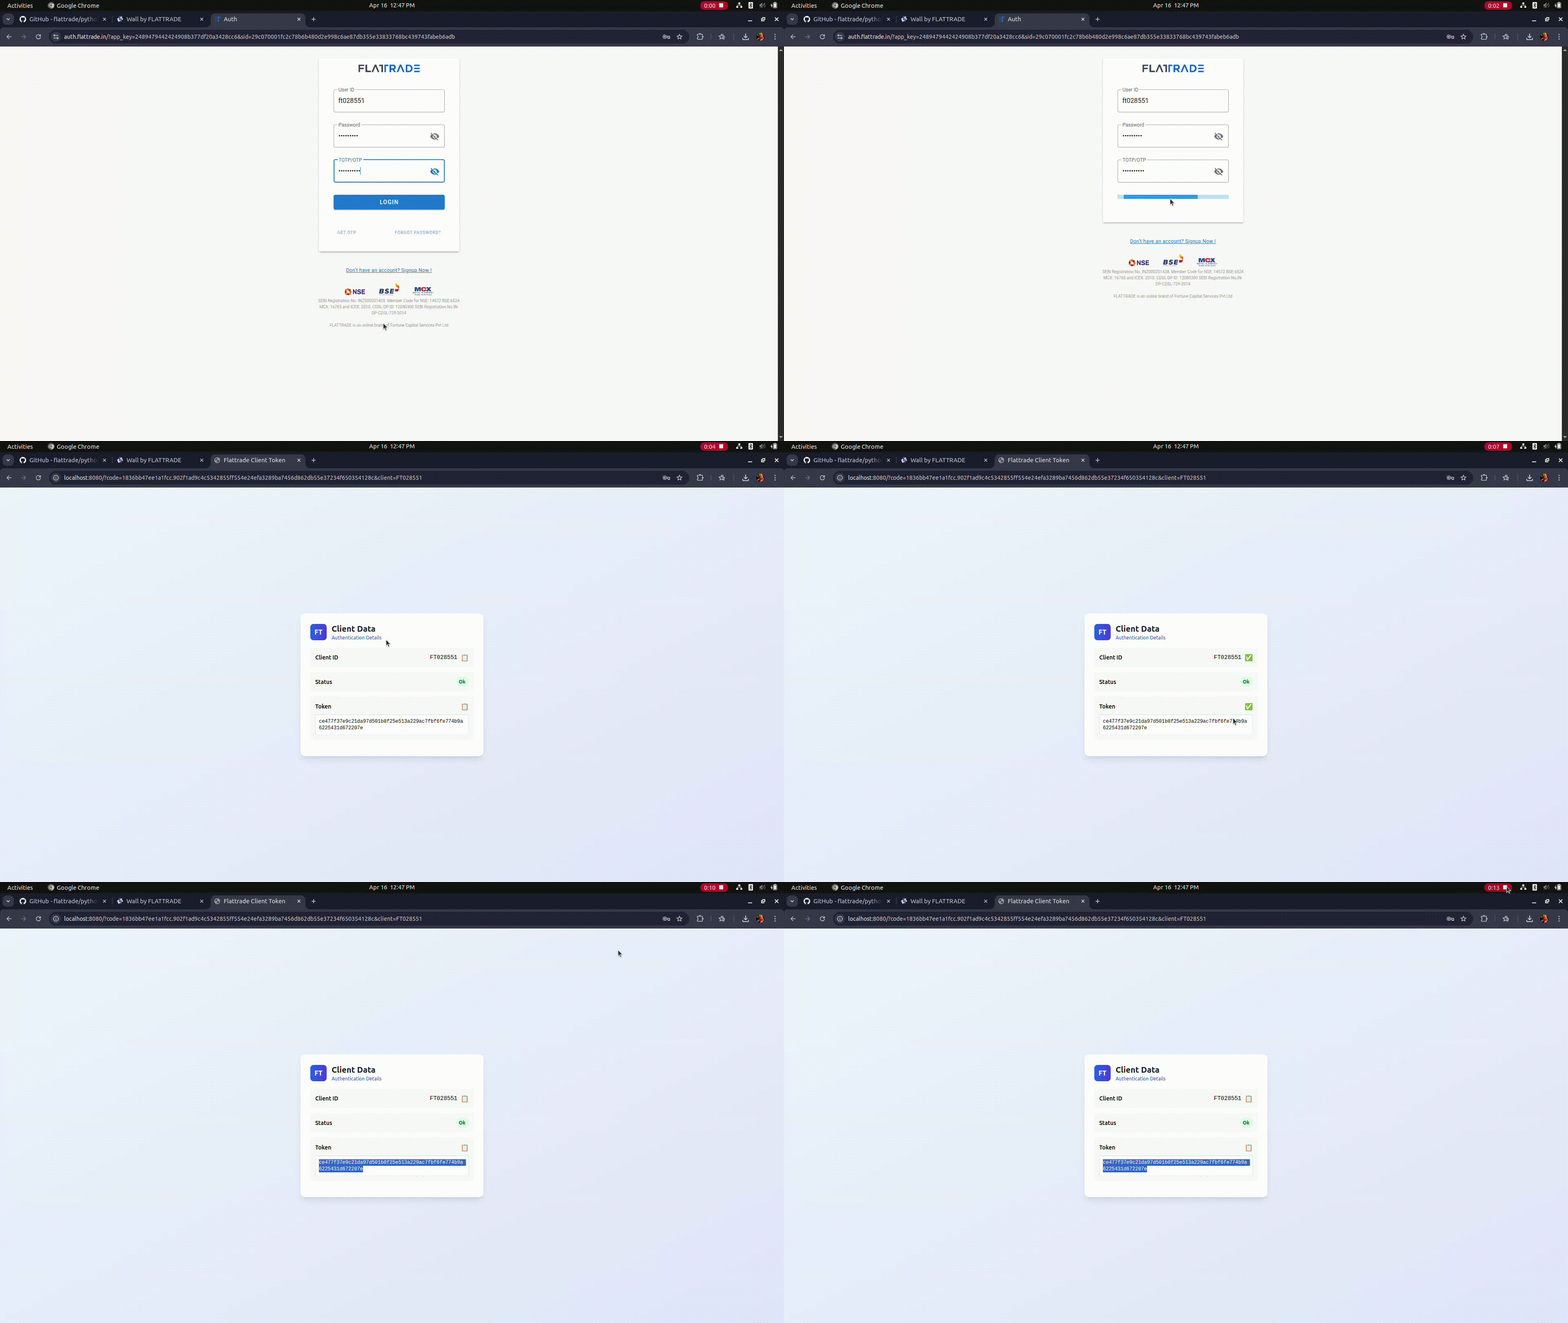
Open the link in your browser, log in, and approve access.
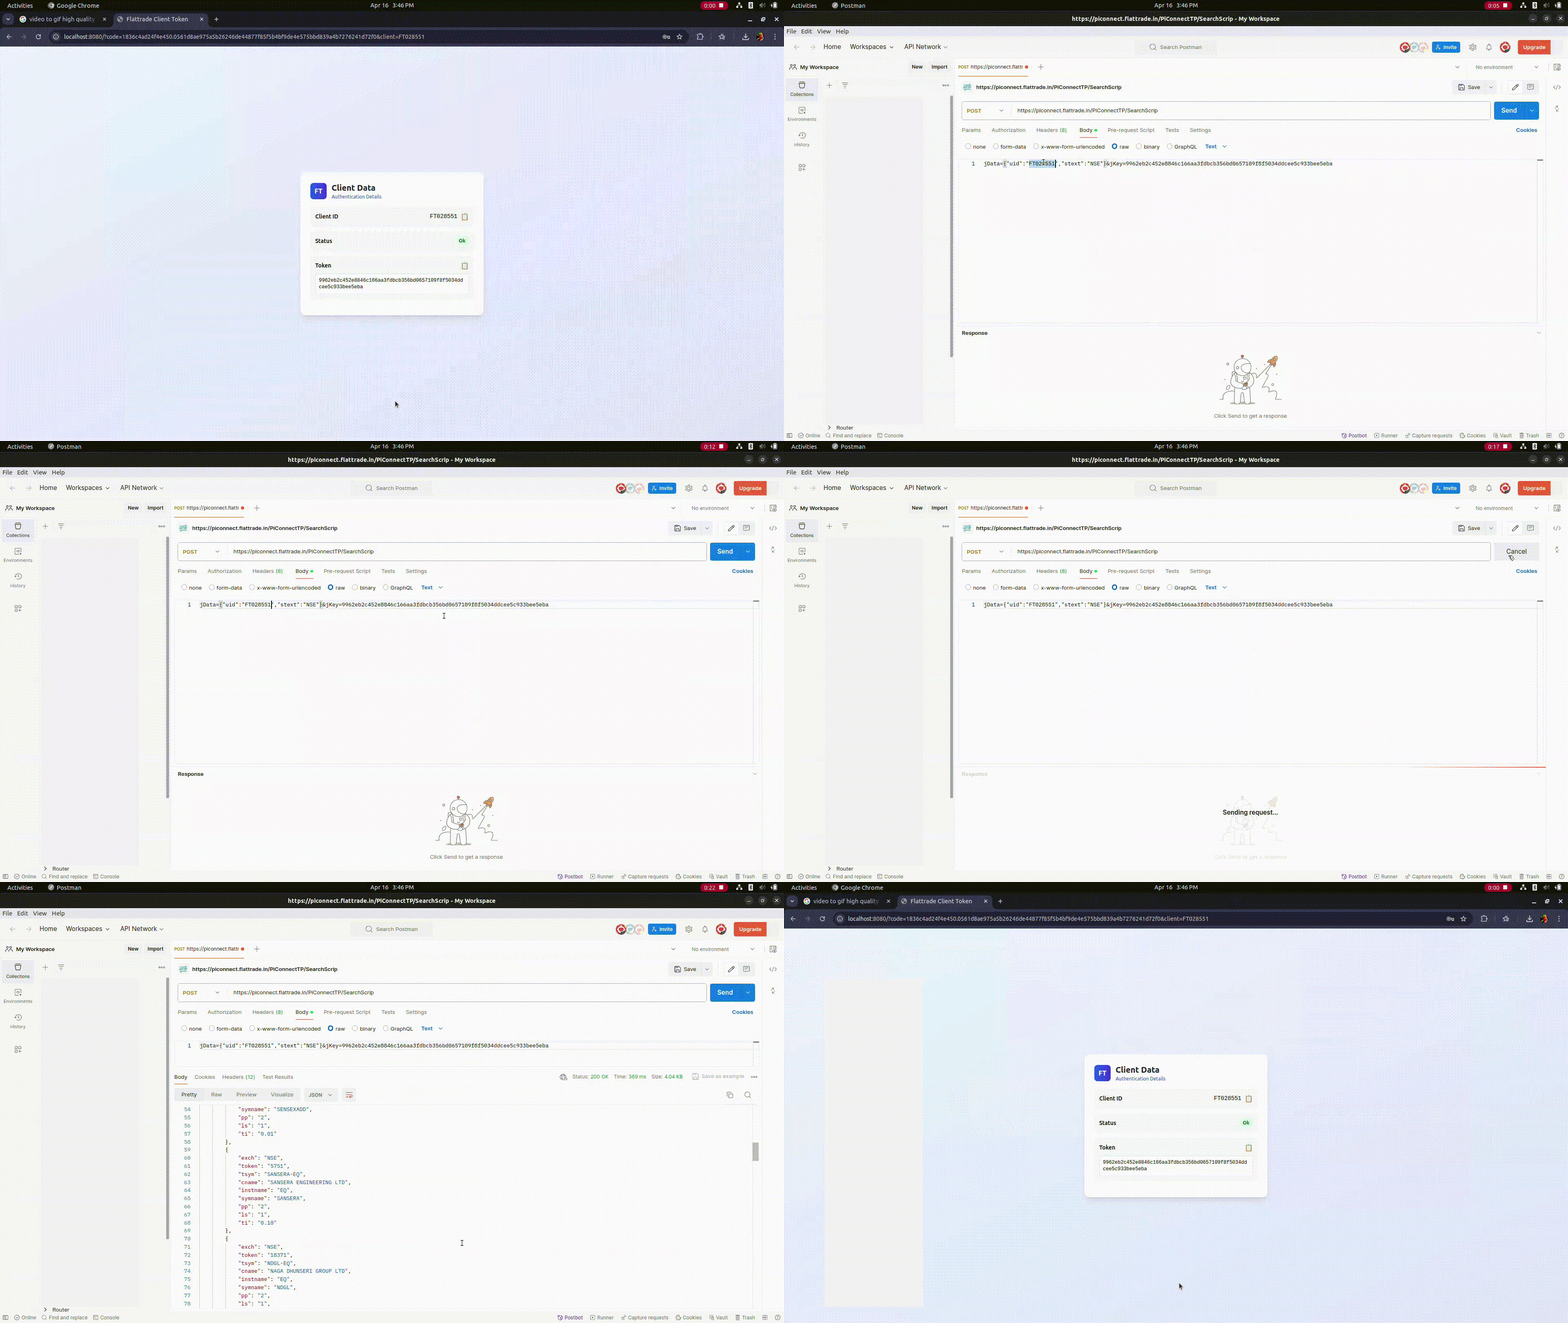
Use Postman or another API testing tool to:
- Verify your token is valid
- Try out the Flattrade APIs
now you can quickly check the API call with the sample file test_api.py provided in this folder. Before you run test_api.py, please set the
usersessionanduseridvariable in the file test_api.py
🕒 Token Expiration Time:
All tokens expire daily at 5:00 AM (IST).
You must generate a new token each day after 5 AM to continue using the API without interruption.
💡 Tip: Set a reminder if you're building a daily-use application.