VirtualBox installation depends on your OS, i.e. on your physical computer, which is called host:
- Windows. Read virtualbox-docs, itsfoss, wikihow, watch video tutorials,... Then read section Install Ubuntu 24.04 Virtual Machine
- For Ubuntu 24.04 follow next steps:
-
Download the VirtualBox package for Ubuntu 24.04 from the official VirtualBox website: virtualbox/Downloads go to Download VirtualBox for Linux Hosts
-
Install it
cd ~/Downloads
sudo dpkg -i virtualbox*.deb
- If there are any dependency issues, run:
sudo apt-get install -f
sudo dpkg -i virtualbox*.deb # again
virtualbox --help # check version
Alternative installation using Oracle’s repository at itsfoss.
Official docs and quick wiki for Ubuntu/Debian.
-
Download an Ubuntu ISO file from https://ubuntu.com/download/desktop
-
Open Virtual Box. Click on Machine/New
-
Set name, ISO image location (of step 1), OS, memory, CPUs,...Example:
- General:
- Name: U24.04_150Gb
- Operating System: Ubuntu (64-bit)
- Settings File Location: /home/<user>/VirtualBox VMs/U24.04_150Gb
- System:
- Base Memory: 12000 MB
- Processors: 10
- Storage:
- Create a Virtual Hard Disk (vdi): 150 GB
- ...
-
Do check the Skip Unattended Installation checkbox. Screenshot. This way you will see a detailed step-by-step installation process.
-
Click Finish
-
Wait for installation to finish. Fill user, password, keyboard, timezone,...
After installation of VM, install guest additions. See details and screenshots in linuxtechi.com.
Install Required Packages. Start the VM, open a terminal and run
sudo apt update
sudo apt install -y build-essential dkms linux-headers-$(uname -r)
In VirtualBox interface:
- Go to Devices menu at the top of the virtual machine window
- Select Insert Guest Additions CD Image. This action virtually mount the Guest Additions CD image into your virtual machine.
In VM terminal install the additions
cd /media/$(whoami)/VBox_GAs_*
sudo ./VBoxLinuxAdditions.run && sudo reboot
After reboot verify installation
- Check VM termianl output
lsmod | grep vbox- Check automatic screen resizing and seamless mouse integration.
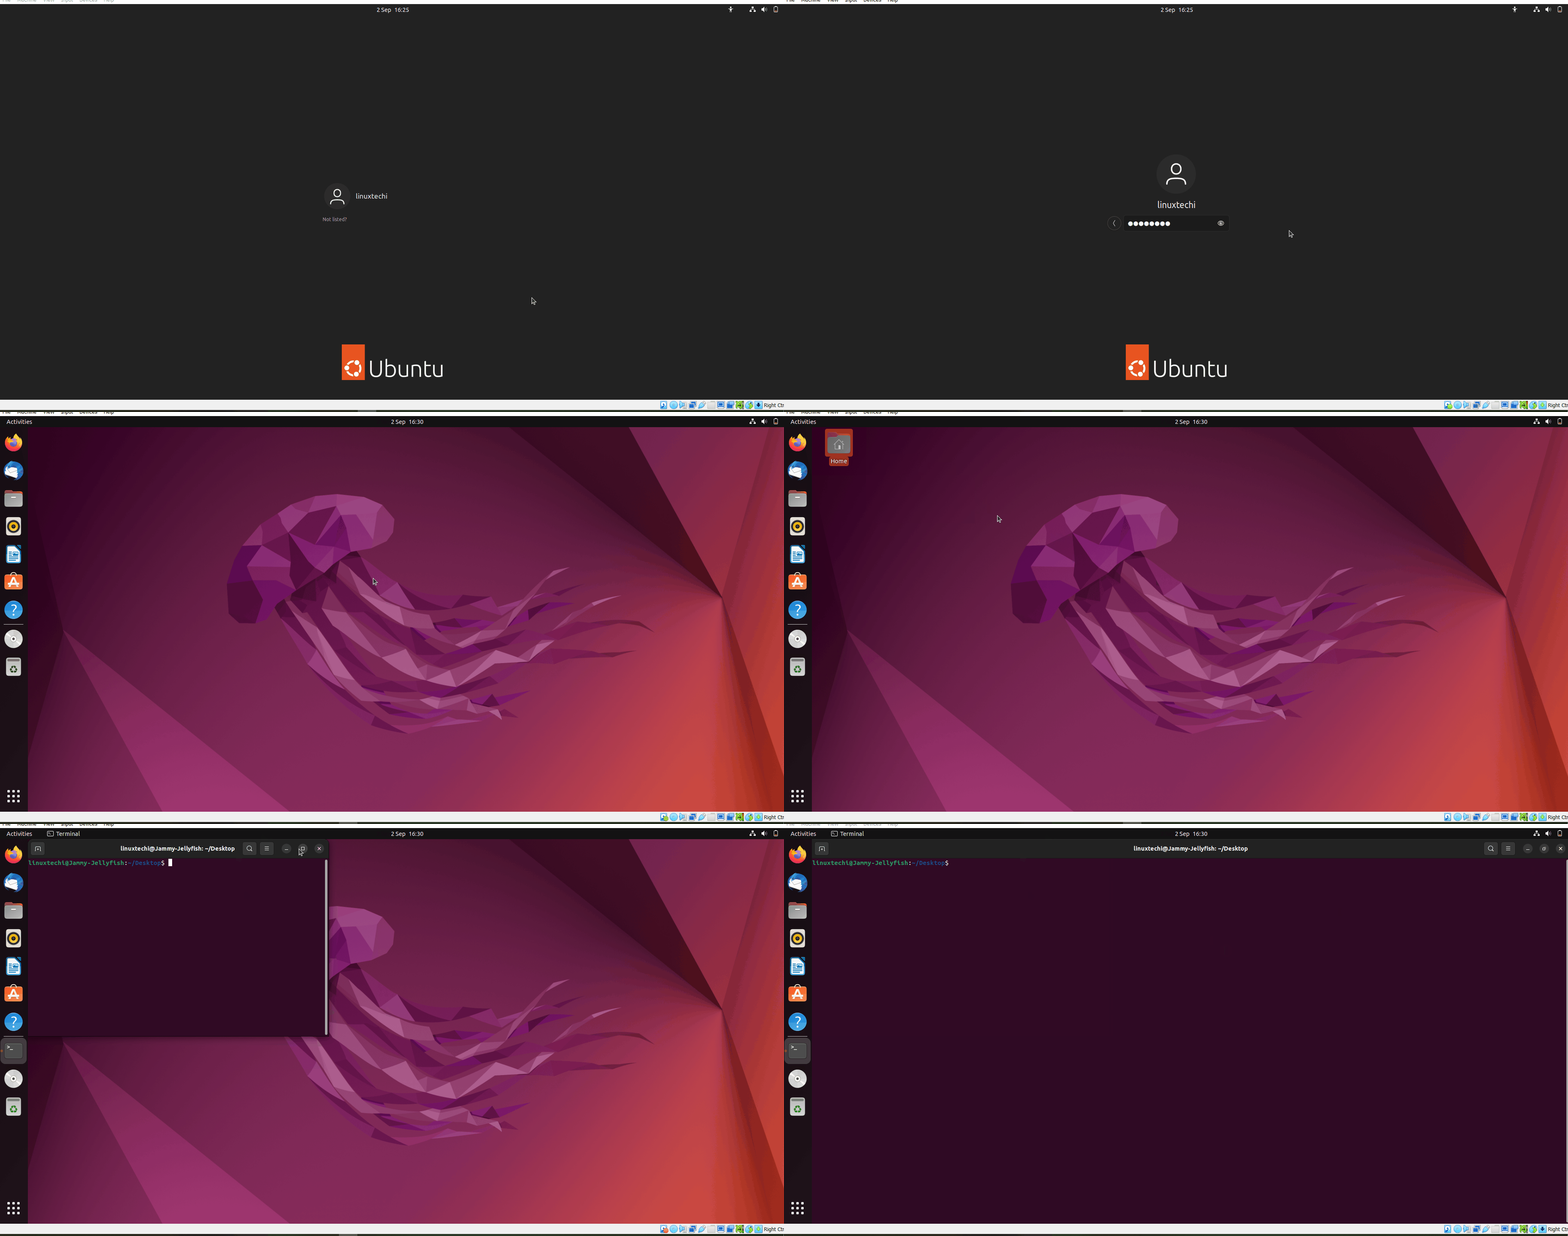
GIF sourced from linuxtechi.com
- Click on Machine/Settings/General/Advanced and set:
- Shared Clipboard as Bidirectional
- Drag'n'Drop as Disabled is my personal preference
- Start the VM. Try to copy text from host and paste into VM, then vice versa
During installation of VM you might not be able to change the resolution size.
After installation of Guest Additions set the highest resolution in the menu View/Virtual Screeen
- Create in host a shared folder and paste there any file
In host run
dir01="/home/$(whoami)/VirtualBox VMs/U24.04_150Gb__sharedDir/"
mkdir "$dir01"
cp -v /usr/share/backgrounds/ubuntu-wallpaper* "$dir01"- VirtualBox select the desired VM, go to menu Settings/Shared Folders
- Click on Add new shared folder (at right)
- Set folderpath (replace user with your username):
/home/user/VirtualBox VMs/U24.04_150Gb__sharedDir/ - Set mount point:
/media/host_VM_sharedDir - Set automount and make permanent
- Start the VM. Open a terminal and run:
sudo usermod -aG vboxsf $USER
sudo reboot
Check that the shared folder should automatically be mount at /media/host_VM_sharedDir/:
xdg-open /usr/share/backgrounds/ubuntu-wallpaper*.pngIf not working, then manually mount it:
sudo mount -t vboxsf U24.04_150Gb__sharedDir /media/host_VM_sharedDir

# To make the mount persistent across reboots, add this line to /etc/fstab:
echo "U24.04_150Gb__sharedDir /media/host_VM_sharedDir vboxsf defaults 0 0" >> /etc/fstab

# Set appropriate permissions:
sudo chown $USER:$USER /media/host_VM_sharedDir
sudo chmod 755 /media/host_VM_sharedDir
Still troubles? See virtualbox-docs concerning:
Excellent Corey Schafer video.