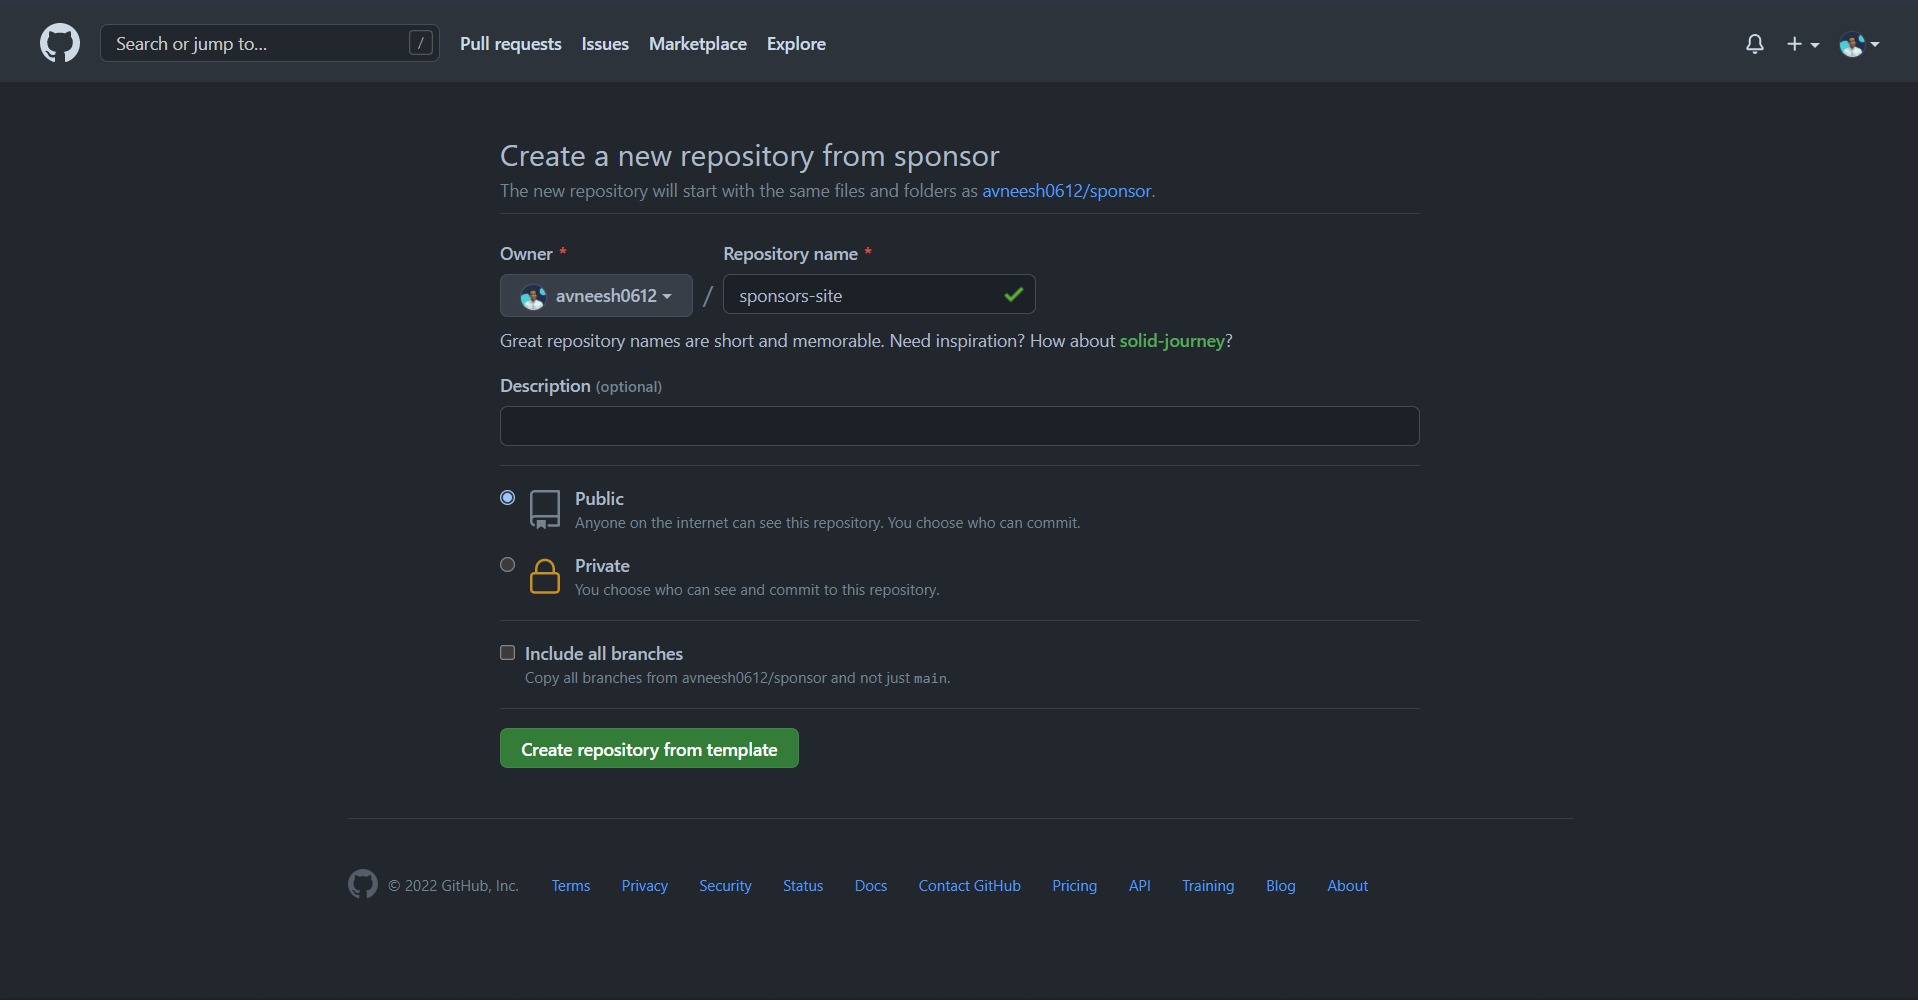
Click on Use this template

Now give your repository a name and you can give some additional details if you want.
- Clone the repository you have been redirected to by
git clone url
- Installing the node modules
yarn install # yarn
npm install # npm
- Starting the server
npm run dev # yarn
yarn dev # npm
Create a new file .env.local and copy the content of .env.sample. Go to stripe, sign up for an account then create a project. Click on developers in the header and get the api keys.
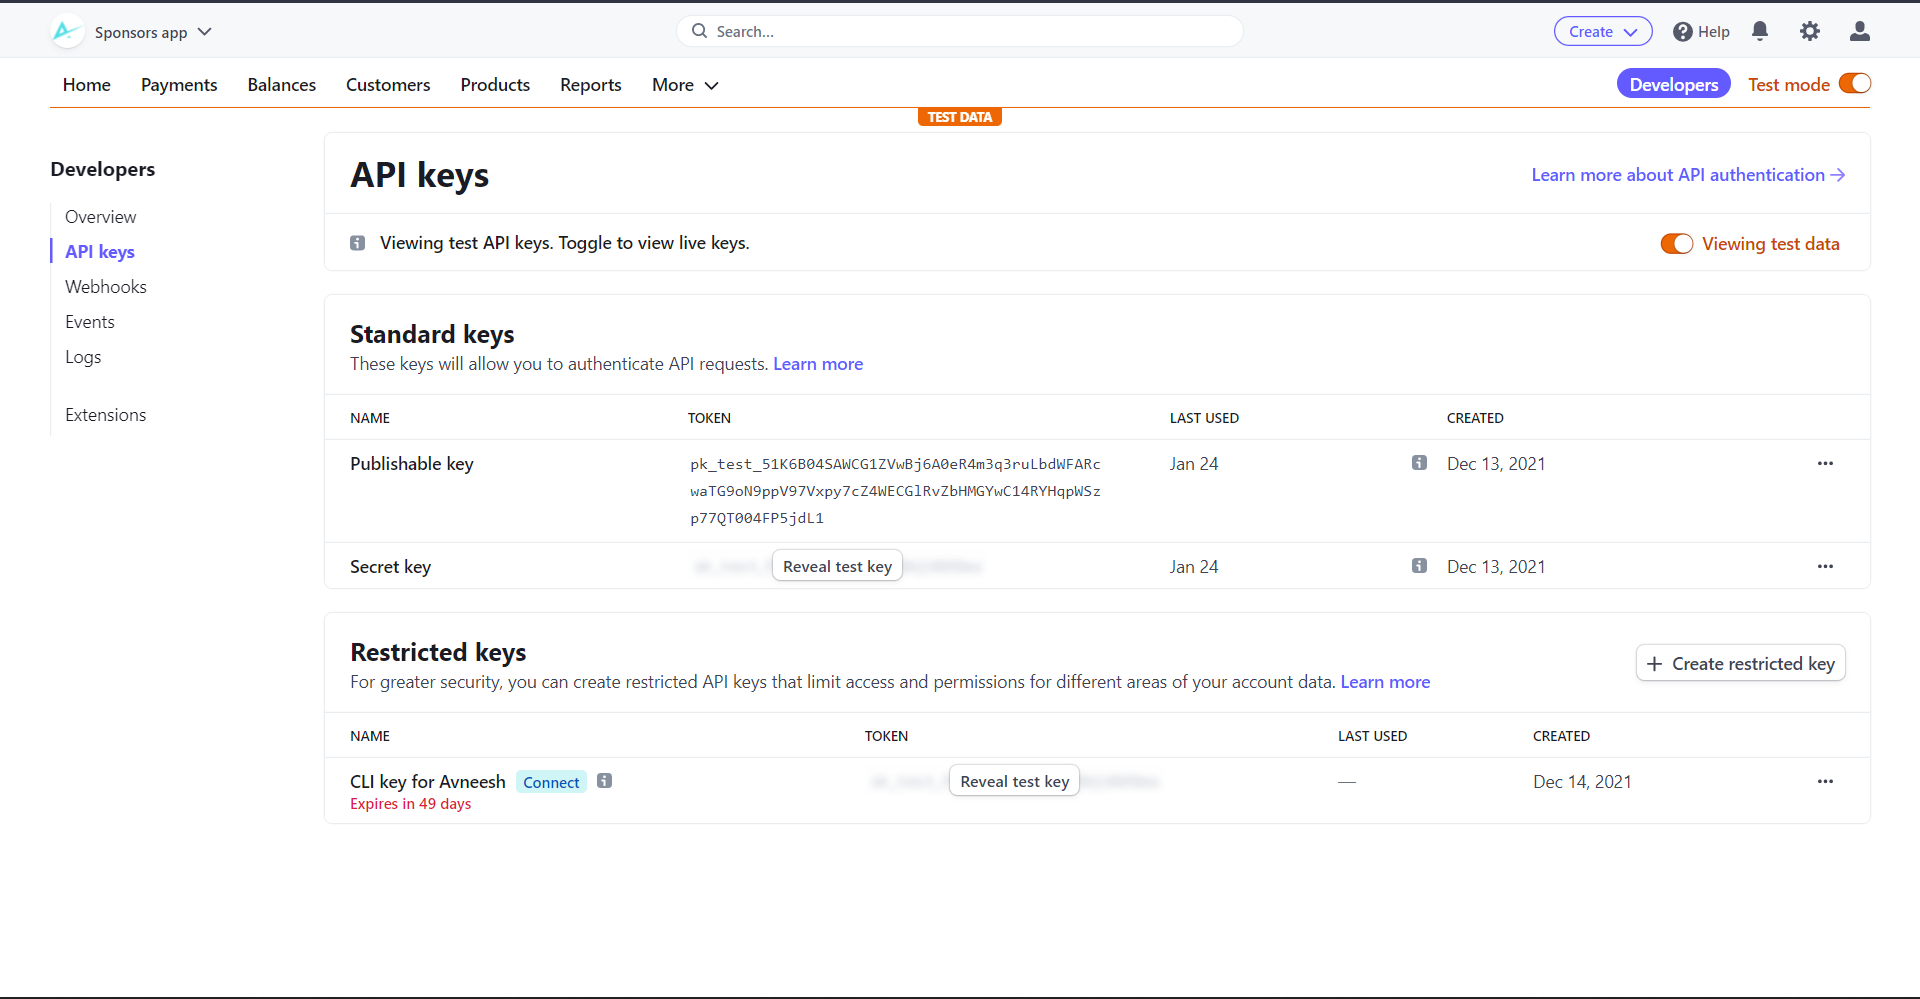
Copy the api keys and paste them in .env.local respectively. Restart your server-
npm run dev # yarn
yarn dev # npm
The app now works! Since this is in test mode, you can just use 4242 as the card.
To add your details go to the data.json file in the public folder and replace my data with yours.
To customize the colors go to tailwind.config.js and replace the existing colors with your brand colors.
After you have added all your data. Push the code to GitHub with these commands
git add .
git commit -m "your commit message"
git push
Since we started stripe in test mode, click on "Activate Account", fill in your details and activate it.
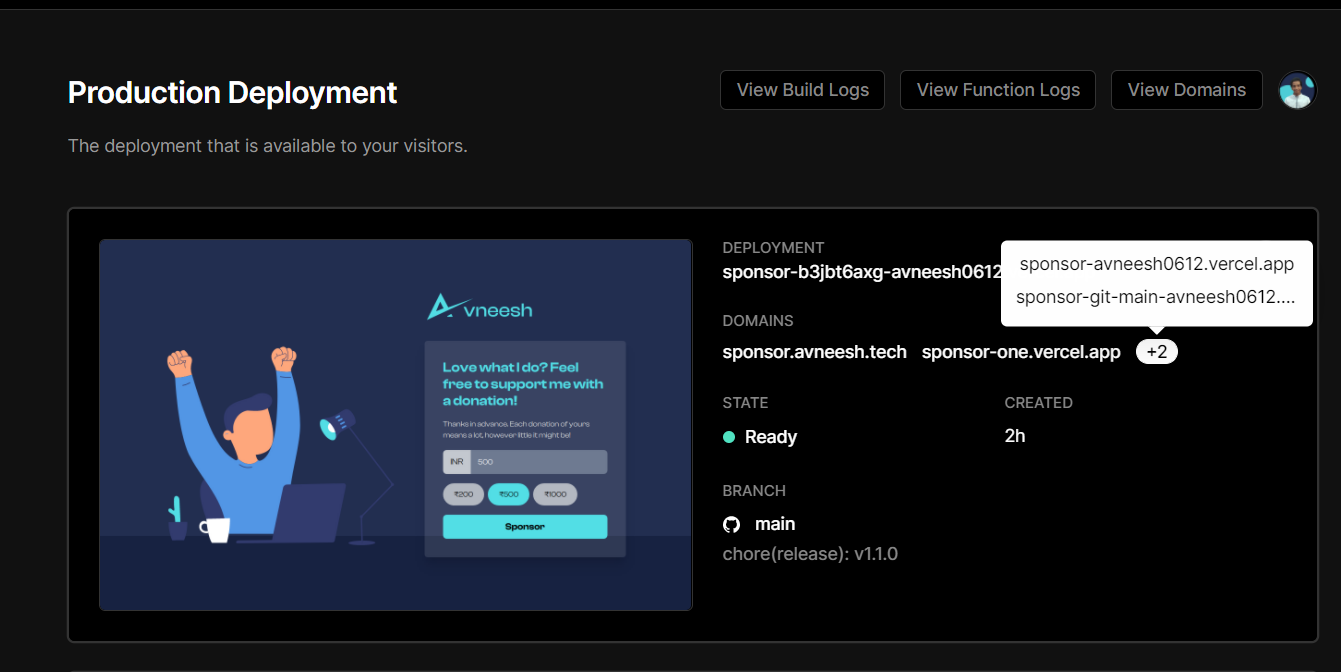
- Go to Vercel
- Sign up for an account
- Click on New project
- Import your repository
- Click skip while creating a team and then hit deploy
- After it is deployed click on go to dashboard
- Go to Environment Variables > Settings, and add the secret and private key. Make sure to use the production one to be able to accept payments.
- Your site is successfully deployed 🥳
- Now grab the URL and show it to world